
Giant wall-mounted home tablet
Purpose
- get rid of our paper/post-it notes habit: indeed, we used to have many handwritten notes all over the house, and wanted a cleaner way to handle our day to day notes as well as longer term “todo” lists.
- have a digital whiteboard to (possibly remotely) leave each other messages
- use this same interface for possible home automation features
Constraints
- minimal power consumption, especially in standby/sleep mode. Both to minimize the power bill impact, and keep thermal dissipation (very) low.
- ability to unplug electrical power supply completely (when leaving for a long vacation…)
- wall-mountable
- wifi access to the home LAN
- quick and friendly way to input text: voice-controlled input and/or large virtual keyboard.
- ability to display messages/play sound upon notifications, triggered by passing by in front of the interface.
- reasonable budget
My initial plan was to find a cheap display with touchscreen, use a low power board (e.g. raspberry pi), then homebrew a software solution based on linux/Qt or android. The very first thing I did was make several cardboard mock-ups of the interface, of various sizes, and search for the right size and right place in the hall where it would be wall-mounted. I determined that for our specific need, a 21/22 inches display would be ideal. Then came the reality check: finding and buying a 21 inch touch display as a standalone part was a non-starter. Way too expensive, and/or unpractical. I checked eBay for a second-hand point-of-sale touch screen, no luck either. Also, buying a bare LCD/touchscreen without a case would mean…having to make a case, and I do not have the right skills to do something that looks good enough to stay in the hall at all times.
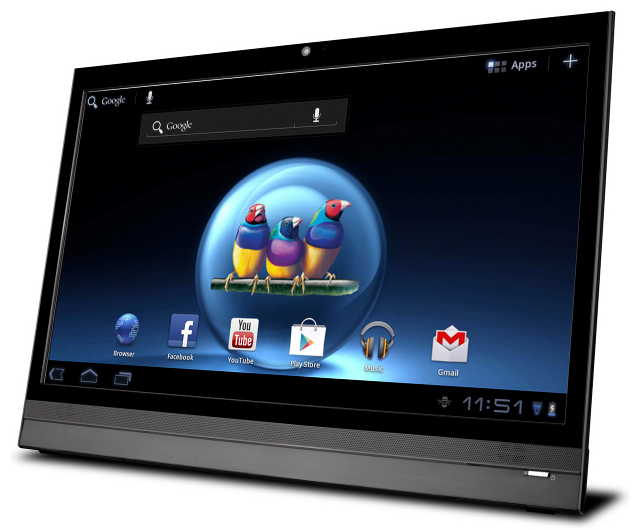
Finally, I stumbled (circa 2013) upon something else: “smart displays”, i.e. all-in-one PCs integrating a low-power (and low-performance…) ARM CPU into a traditional PC display case. Checking the specifications of various models, it seemed to me that this was in fact quite a good match for my input constraints: these smart displays have very low power consumption, large screen, touch capability, and last but not least they run Android. I finally settled on the Viewsonic VSD220, an aging model soon to be replaced by a faster model that was therefore on sale. For 285 euros, I got a 21.5 inches capacitive touchscreen display, Android 4.0.4, 0.5W power consumption in sleep mode, wall-mountable through a standard VESA mount…jackpot !
Oldest setup
I customized the Android home screen, to move away from the “giant smartphone on the wall” feeling it gave by default:
- I installed a full black background
- I got rid of all the regular icons from the homepage. I wanted to have very large icons instead, for the key few applications that we would actually need on this interface. The “Desktop VisualizeR” free app from google play store got me what I needed: resizeable widgets with customizable images and associated actions. I created widget of size 3x3 cells, and googled for high resolution icons of the apps that I need to point to.
Here is a picture of the tablet mounted on the wall with this setup:
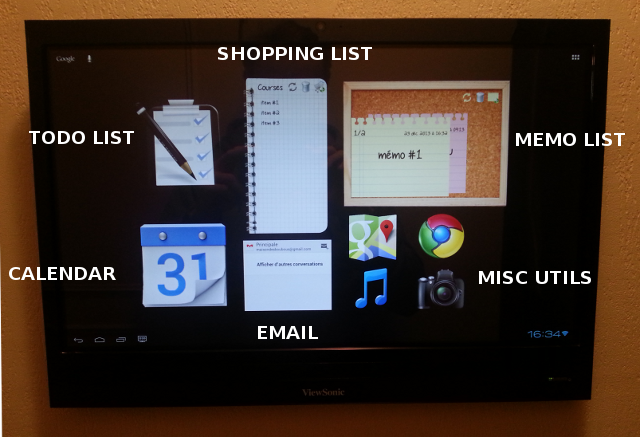
- Two custom android homescreen widgets were developed from scratch to handle the shopping list and the memo notes board. There are described here and here.
- The long-term todo-list relies on the MyTinyTodo code running on the home raspberry pi php/web server.
- the music control app is BubbleUPnP, a great UPnP/DLNA Control Point/Renderer/Server. In practice, it sends out commands to the UPnP/DLNA server running on the home raspberry pi, which is itself attached to the actual sound system. I described this setup in this page.
- home lighting control (not shown in this picture) is available via a simple shortcut to the local URL of openHAB, used to control my z-wave devices. You can check the details here. The shortcut is created using Desktop VisualizeR too, the specific target URL can be set by a long press on the Action while configuring the widget, and selecting “Clipboard” (while having previously copied the desired URL in the clipboard, of course)
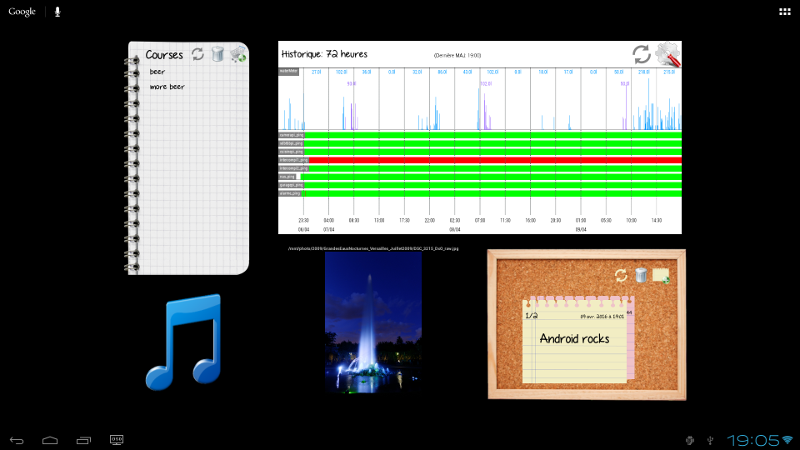
Older setup
Here is a screenshot of a later setup, based on additional custom homescreen widgets:
-
the graph widget displays water consumption over the last three days. It is described here.
-
the photo frame widget displays a random photo from a remote server, refreshing every 30 minutes. It is described here.
-
the shopping list widget is reused from the previous setup, it is described here.
-
the post-it notes widget is reused from the previous setup, it is described here.
Latest setup
I finally developed a single full-screen App to replaced all individual widgets:
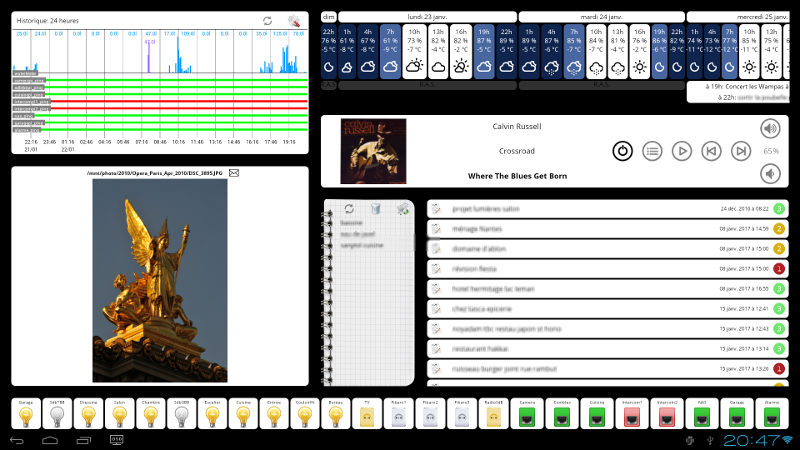
It turns our to be more efficient and easy to maintain than the individual widgets. In the process, I also added a Z-wave devices status/control feature, as well as a music player, and weather forecast & agenda feature. I documented the app implementation in detail here.
Autowake feature
I added an external presence detection device that turns on the tablet when I walk by: the details are described here.