
Sketchup survival guide
Below are a few notes about basic usage of the Sketchup 3D modeler, mostly as a quick refresher for myself whenever my 3D modeling itch needs scratching, every 6 months or so. Where Sketchup really shines is its ability to be used by a very wide range of users, from enthusiastic newbies like myself that only need to model a few things once in a while and don’t want to invest hundreds of hours into learning an “old-school” 3D modeler, to professional architects and designers using it in their daily workflow. Obviously there are loads of excellent Sketchup tutorials out there (hint: watch all of the official ones one the sketchup site, and you’re all set), but this just captures the core knowledge that suits my personal (very limited) use of the tool. I am using the free (as in beer) version currently called Sketchup Make, which is more than enough as far as I am concerned.
Warning: Sketchup can turn out to be quite addictive. I initially wanted to test it as a simple visual support to remodel one room, and 100 hours later I ended up having modelled the whole house, with every room and associated furniture, plus outdoor areas.
- Setup
- Rule #1: memorizing basic shortcuts
- Rule #2: precise actions or nothing
- Rule #3: Using groups and components everywhere
- Rule #4: Use Scene views
- Rule #5: Clean-up/heal the surfaces as you go
- Rule #6: Know the other useful stuff
- Sketchup companion for house (re)modeling
- Exporting to STL file
- Sub-mm precision measurement
Setup
All right, here is the one (and only) grudge I have against Sketchup: it does not have a native linux client. You might be able to use it under linux with Wine, but last time I checked this required a workaround which in the end prevented the use of any additional Sketchup plugin, which is a big drawback for me. Also, performance when working on large models can become a severe limitation in these conditions. In the end I took the easy way out, I dual-boot to Windows and use Sketchup there.
Update as of October 2018: an online/browser-based version of Sketchup came out (“Sketchup Free”), and it perform surprisingly well. After loosing another couple of hours trying to get a working Wine-based setup for Sketchup on Linux, I finally switched to this online app and it is quite fine for the (small) models I create. The hints below were originally written for the desktop app, but most shortcuts still work in the online version, which is abig relief.
Rule #1: memorizing basic shortcuts
Life is too short to click on the tools icons, the following shortcuts are must-know to get any decent productivity in sketchup.
Space = selection mode
when using another tool, just pressing Space allows to go back to selection mode
P = push-pull
Grow a volume from any surface
T = tape measure / guide lines
Useful for measuring distance between two points on the model, but even more useful to create visual guide lines from existing points or edges

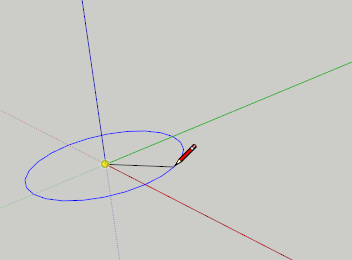
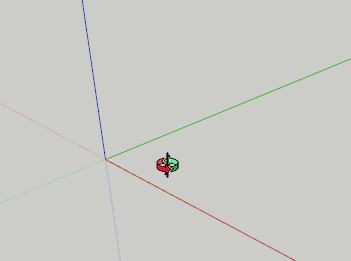
M = move
- Always select a reference/end point when moving an object, instead of clicking somewhere on one of the surfaces of the object, to allow precise positioning at target destination, and prevent objects from sinking into surrounding surfaces when being moved.
- Select
Ctrlto make a copy of the original object and move it.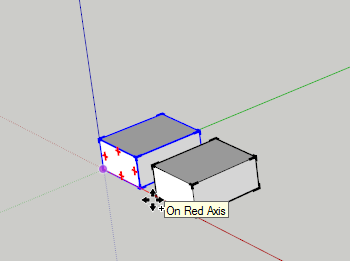
L = line
R = rectangle

C = circle
Note: the entered value is radius, not diameter.
Mouse middle-button = orbit view
Shift + mouse middle-button = pan view
Mouse wheel = zoom
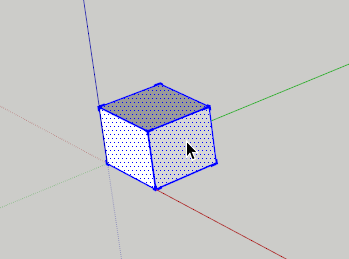
Single/Double/Triple-click
While single clicking selects an edge/surface, double-clicking also selects nearest connected edges, and triple-clicking selects all connected edges.
Rule #2: precise actions or nothing
A requirement for not ending up with a big mess of a model where nothing quite aligns is to never (ever) adjust the dimensions of a shape manually/visually, but instead type in the desired dimensions once the geometry operation is started (e.g. click to start a new line, adjust direction only, then type the numerical value). No clicking in the dimension value box, just type the desired value on the fly. I only use millimeters, and use the associated template that is in millimeters by default, so there is no need to precise the unit.
Note: on european setups, when several values must be entered (e.g. the two dimensions of a rectangle), the separator must be ;, and not , like the english setup and therefore as mentioned in virtually every tutorial on the internet.

Another requirement for precise operations is to use and abuse sketchup’s inferencing and locking system:
- Inferencing: while performing a geometry operation, once the starting point has been set, sketchup has a live mechanism to help properly positioning the end point to achieve the desired geometry:
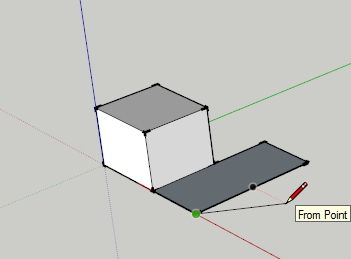
- Point inferencing: after starting an action, hovering the cursor for a while over a particular point will draw dashed guidelines from that point.
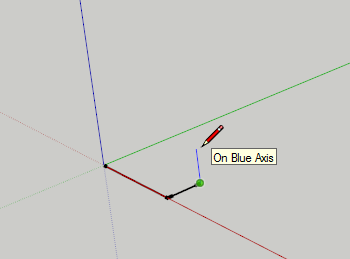
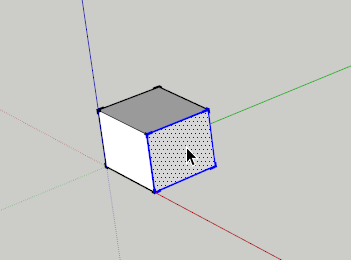
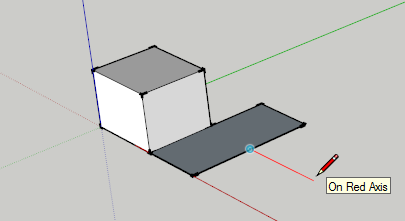
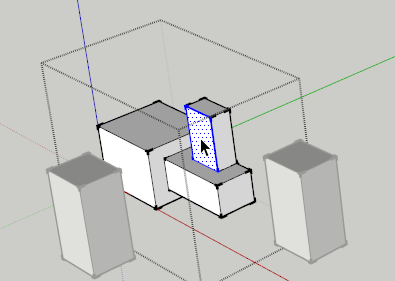
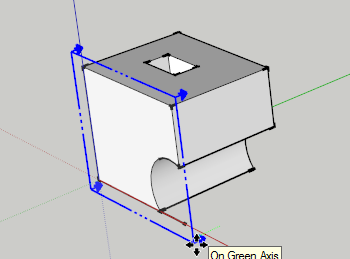
- Axis inferencing: a drawing line becomes blue when perfectly aligned with the vertical axis, green when aligned with depth axis, red when aligned with the horizontal axis
- Edge inferencing: after starting a line, hovering the cursor for a while over an existing edge will allow to draw the new line parallely to the referenced edge: the drawing line becomes purple to indicate this inferencing.
- surface inferencing: typically used during a push-pull action, moving the cursor over another existing surface will align the new surface exactly to it.
- and more types of inferences exist…
- Point inferencing: after starting an action, hovering the cursor for a while over a particular point will draw dashed guidelines from that point.
- Locking an inference: once an inference is acquired, pressing
Shiftallows to lock the movement along this inference, wherever the mouse cursor is. The drawing line then becomes bold to show locking.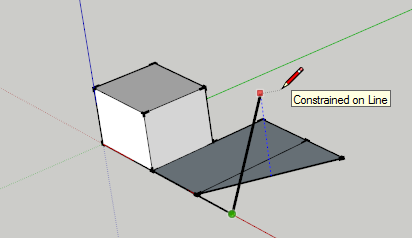
- For axis inferencing, an alternate way to lock is to use the arrow keys before beginning the movement:
left/up/right keywill lock the movement along the green/blue/red axis respectively
- For axis inferencing, an alternate way to lock is to use the arrow keys before beginning the movement:
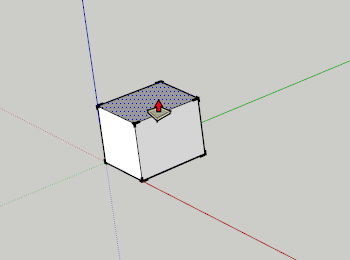
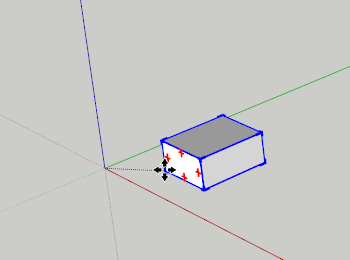
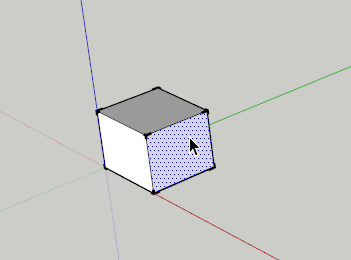
Rule #3: Using groups and components everywhere
Groups allow manipulating a set of surfaces/edges as a single block. But more importantly, groups allow different parts of a model to not “stick” to each other: not using groups is a sure way to end up with one big messy model where moving any surface/edge results in breaking all surrounding shapes. You have been warned.
- Select a set of surfaces, right-click, create group.
- To edit a group, double-click it: the rest of the model is grayed out and modification of the surfaces inside the group is then possible. Single click anywhere outside the group to go back to editing the global model.
- Groups can of course be nested.
Components are groups that have one important additional feature: whene modifying a component, all other instances/copies of this component are immediately modified accordingly. This is a great way to ensure consistency across copies, and a huge time saver when a modification is required after having placed many copies of an object.
Also, using groups and components allows to significantly reduce the size of the sketchup models.
Rule #4: Use Scene views
Scene views are like bookmarks of given camera positions (plus many additional other parameters also being saved in the scene view). Creating a scene view for each useful camera position allows to very quickly move between views, just double-clicking on the desired view tab.

Rule #5: Clean-up/heal the surfaces as you go
Many actions result in unnecessary coplanar edges: it is good practice to clean them up as you go, using the eraser (E) tool or just selecting the edge and pressing delete.
Rule #6: Know the other useful stuff
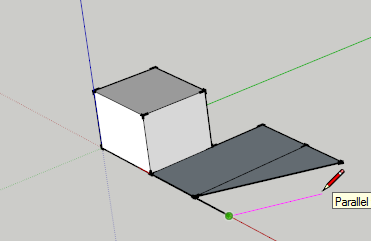
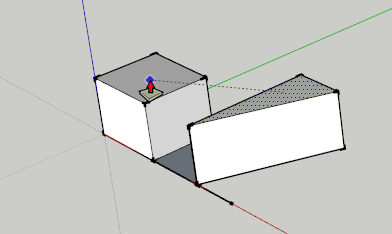
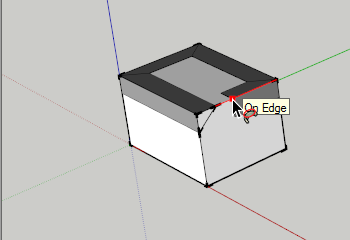
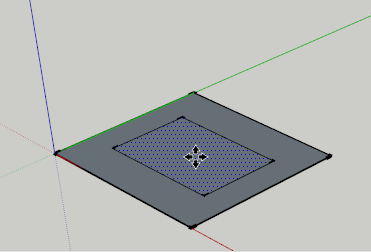
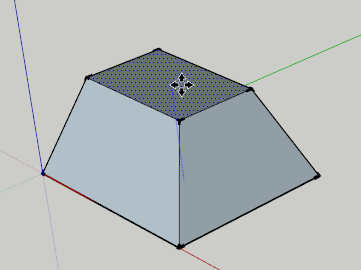
Follow-me tool
This is like using push-pull on an existing surface, and then telling sketchup to constrain the push-pull operation along the direction of an existing edge, then along another connected edge, and so on. Two modes:
- select the follow-me tool, click on a surface, then move the cursor manually along the desired edge path
- OR, select a target surface, select the follow-me tool, then click on the surface to be pulled: this automatically performs the follow-me operation along the edges of the selected surface. Super easy way to create a bevel.
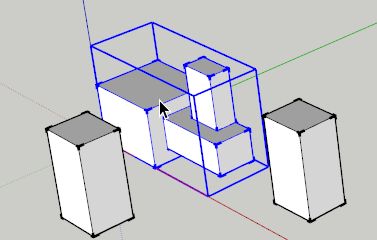
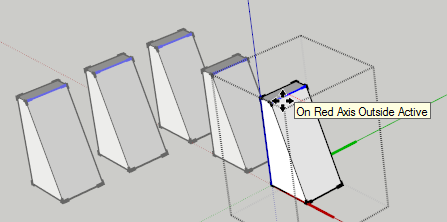
Array of objects
Two very useful tips when creating objects where one group/pattern is repeated several times:
- Copy an object (
Ctrl+Move),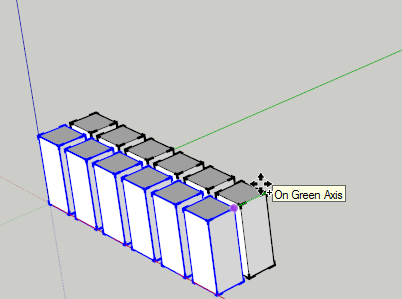
-
then type a number (N) followed by
x: this will automatically repeat the initial copy/paste operation N times, shifting each copy by the same displacement as during the first manual copy.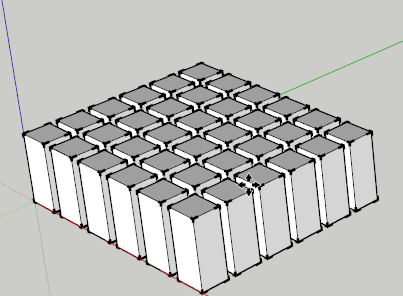
- Similarly, copy an object, type a number (N) followed by
/: the repeated copies will be placed in-between the orignal object and the copy, and spaced evenly.
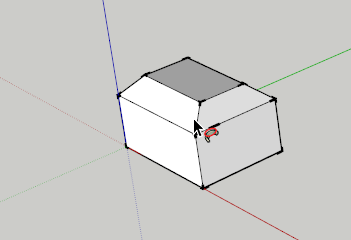
Autofold
Moving a nested surface away from its parent surface while pressing the Alt key results in connection edges automatically being created between this surface and the (larger) parent surface. Another quick way to create a bevel.
Layers
I do not feel the need to use them too often, but they are still a great way to toggle visualization of groups of objects on and off. Warning: layers only affect objects visibility on the screen, an object geometry can still impacted for example if modifying a visible edge/surface that would be connected/shared with the invisible object. Hence the absolute need to use groups everywhere when using layers, to prevent unwanted geometry modification that would only be revealed much later when the layer is reactivated.
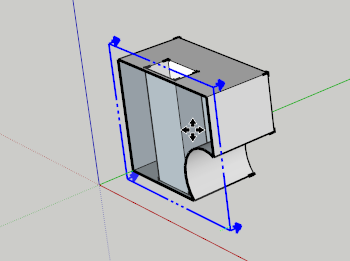
Section cuts
Useful to see inside a complex 3D objects without having to move or delete anything.
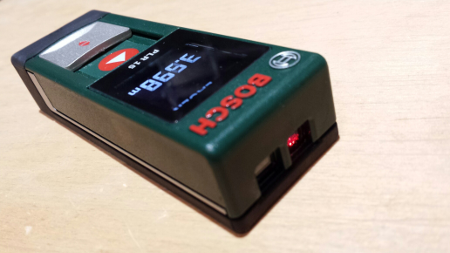
Sketchup companion for house (re)modeling
A simple laser distance measurer has proved to be an invaluable help to capture distances in the real world, while modelling the rooms in my house in Sketchup:
Exporting to STL file
If using the desktop version of Sketchup, the easiest way to export the Sketchup model to an STL file, is obviously to install the “STL Export” plugin. However, at some point I ran into trouble while executing Sketchup with Wine under Linux, which is a minor nightmare by itself. The STL export plugin gave a blank window, due to some obscure dependency with IE or something. A workaround I found somewhere is to use the Ruby Console (in the Windows menu), and type:
CommunityExtensions::STL::Exporter.export("Z:/home/etabli/model.stl", Sketchup.active_model.active_entities, {'selection_only' => false, 'export_units' => 'Model Units', 'stl_format' => 'ASCII'})
If using the online Sketchup app, just click on the Folder icon, then Export then STL. As of late 2018, this exports the WHOLE model, not just the selection. This is a minor inconvenience, which I guess will get fixed in later updates of Sketchup Free.
Sub-mm precision measurement
By default, at least when choosing the “mm” template, even though it is possible to specify a precise sub-mm value when drawing an item, the ruler tool will report e.g. the annoying ~4mm format when the actual value is 3.8mm. This is easily solved by adjusting the Precision setting. In Sketchup Free for example, setting Precision to 1 decimal place (“0.0”) instead of the default of 0 decimal place (“0”) results in the ruler tool providing the value at 0.1mm precision. More precision can be added as needed.